Even as gyms and fitness studios start welcoming back guests all over the country, home workout sessions are here to stay permanently.Beachbody’s survey showed that 87 percent of Americans who are comfortable enough to return to gyms would continue doing an at-home workout as part of their fitness routine.
85 percent of the respondents agree that there are convenience and accessibility advantages of working out at home than in gyms. These benefits include privacy, convenience, and cost. Furthermore, over 86 percent reported that their at-home workouts have been effective, even exceeding their expectations.
Why Build a Home Gym in Your Unfinished Basement
One of the common places where people set up their home gym is the basement. After all, most of us have been using the space only for storage. Basements are, in fact, one of the most practical places to set up a home gym. It does not eat up any of your living space, plus you can do your workout without any distraction.
Of course, when we workout, though, we would want to do it in some nice place. If you have an unfinished basement, working out may seem like a drag. To get you inspired with your at-home workout, consider these steps to transform your unfinished basement into a savvy, fat-shredding home gym.
Steps to Building a Gym in Your Basement
Step 1: Measure
Measuring your unfinished basement area is the first step to make the planning and building of your gym much easier and streamlined. Perhaps you only plan to use a portion of the basement and keep some space for storage.
Keep in mind to measure as well how tall your ceilings are. Though it is possible to have a good workout with a low ceiling, you may have to change some of your routine and equipment.
Step 2: Plan
Once you know how much space you want for your home gym, you need to layout your plan. These are some things you need to consider:
- Equipment you need and whether it fits your basement.
- The flooring you need.
- Mirrors you need and how you will mount them.
- The layout of your basement home gym.
- Lighting and ventilation of your basement.
You need to layout your plan carefully before doing anything. It ensures your home gym will turn out as you imagined it. It also helps avoid unnecessary and costly mistakes.
Step 3: Declutter
Freeing up some space in your basement allows you to measure the area you intend to use. This is also an opportune time to dispose of items in your basement, which you should have thrown out a long time ago. Decluttering your basement also allows you to check if it needs some maintenance and repair.
Step 4: Repair Problems
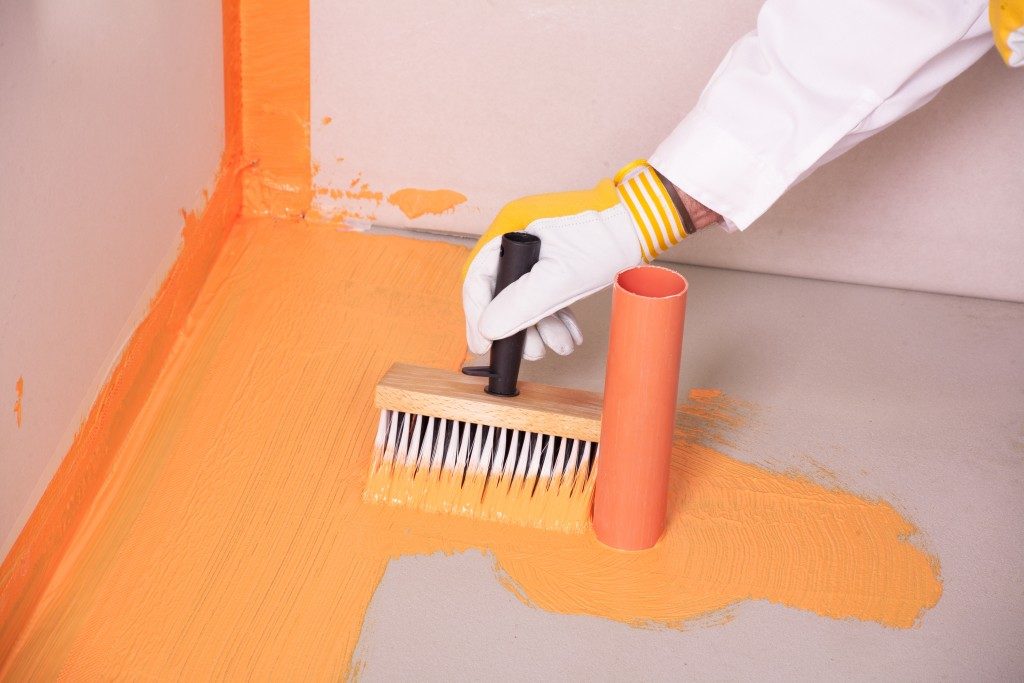
You do not have to finish your basement to build a home gym. Your home gym is a place for workouts and not to relax. Nonetheless, you need to check if there are some problems in your basement that need fixing. This includes any moisture, mold, pest, or leaking.
You might need to contact a professional to help you solve these problems, like a flood damage repair expert.
Step 5: Improve Ventilation & Air Quality

Quality indoor air and good ventilation are important in any house. This becomes more crucial when you plan to work out at home.
Without proper ventilation, your basement will surely encounter problems with mold and moisture. And these problems pose a greater threat to your health. Moreover, you need to get as much oxygen as you can when working out, and your basement does not have natural airflow.
Consider the following suggestions to improve your basement’s ventilation:
- Convert your windows so you can get natural air from outside directly.
- Add a ventilation duct so that there is airflow.
- Hook your basement to your home’s HVAC system.
- Invest in an air purifier if you still think the air quality of your basement needs further improvement.
Step 6: Install Gym Flooring
Your concrete basement floor is not enough in building a home gym. Dropping heavy metal weights can damage your floors over time. Though gym flooring is not necessary, it is a good investment in the long run. Not only can it help protect your floor, but also your equipment.
Step 7: Assemble Your Equipment
With all the necessary preparations taken, now is the fun part — assembling and placing your equipment.
It is highly suggested to assemble the parts of bigger equipment in your basement as it can be difficult moving them from upstairs. When placing your equipment, you need to keep in mind to keep things accessible and hazard-free.
Now that you have finished building your very own home gym, it’s time to try it out and break some sweat.


