There’s no better way to pass the time than to keep your hands busy while you bask in the satisfaction of knowing that you’re using your days productively. Such is the life of avid DIYers who enjoy building something out of nothing whenever they get the chance to. And you can follow in their footsteps.
The best thing about doing DIY projects is that most of them are forgiving, provided that you have a basic knowledge of making handicrafts and using tools. But if you don’t have the slightest idea of what you can do in your spare time, don’t worry because you’re not alone.
There are plenty of other people who want to get started in doing DIY but don’t have the time or skills to do so. Fortunately, you’ve come to the right place. Here’s a step-by-step guide on how you can make a wooden deck in your backyard without spending a fortune on materials, designing, or labor:
Step 1: Make a Rough Plan and Sketch
You can’t start a DIY project without a plan on how you’re going to achieve it. If you’re not banking on your own experience to build a wooden deck, you can always consult other DIYers, friends, family, or even the internet for advice. Once you’ve gathered enough information, this would be the time to create a rough sketch.
This sketch will be the blueprint for your wooden deck. It helps to include actual dimensions of how tall or wide you plan the deck to be. This way, you can visualize how the deck would look like in your backyard once it’s built and ready to be used. Plus, it will make the next step of this project easier.
Step 2: Create Markings for Support Posts
After you’ve sketched on paper, it’s time to bring your plans to life. This means that you’ll need to mark the ground for the actual dimensions of your wooden deck, which will help you gauge the length and width of the materials you’ll need. This can include your lumber planks, deck boards, and angle braces.
To make the task easier, you can use flags tied to rope or string to mark the distances between each support post. This will make it more convenient for you when you have to start digging holes in the ground, but they’re also easy to remove and return if in case you’ll have to adjust the markings.

Step 3: Dig Holes on the Marked Spots
It will be difficult to create stable support posts for your wooden deck if you don’t have holes in the ground that are deep enough. So, if you can, you should rent or borrow a power auger to make holes that are at least 15 inches (0.38 m) deep for each support postmarking.
This way, you’ll know that they can hold their ground. If there is still any dirt or soil left in the holes you made, you can take them out manually using a posthole digger or a shovel.
Step 4: Put the First Foundational Layer
If your yard is sloping after you’ve dug the holes, this could be a problem that will cost you money and safety in the long run. So, to remedy the problem, you can insert support post or caisson tubes in the holes and fill them with concrete. These will serve as the first foundational layer of your wooden deck.
But make sure to allow them to dry and cure for at least 48 hours before moving on to the next step. Taking the time to cure the concrete will help ensure that your foundation is durable and sturdy, which is essential to the success of your end product.
Step 5: Install the Deck Frame and Main Boards
After ensuring that the foundational layer will stand come hell or high water, the next part is installing the deck frame. This involves forming the perimeter of the deck by placing the wooden boards and creating a center beam. You can also place the mainboards onto the deck and secure them with corner brackets.
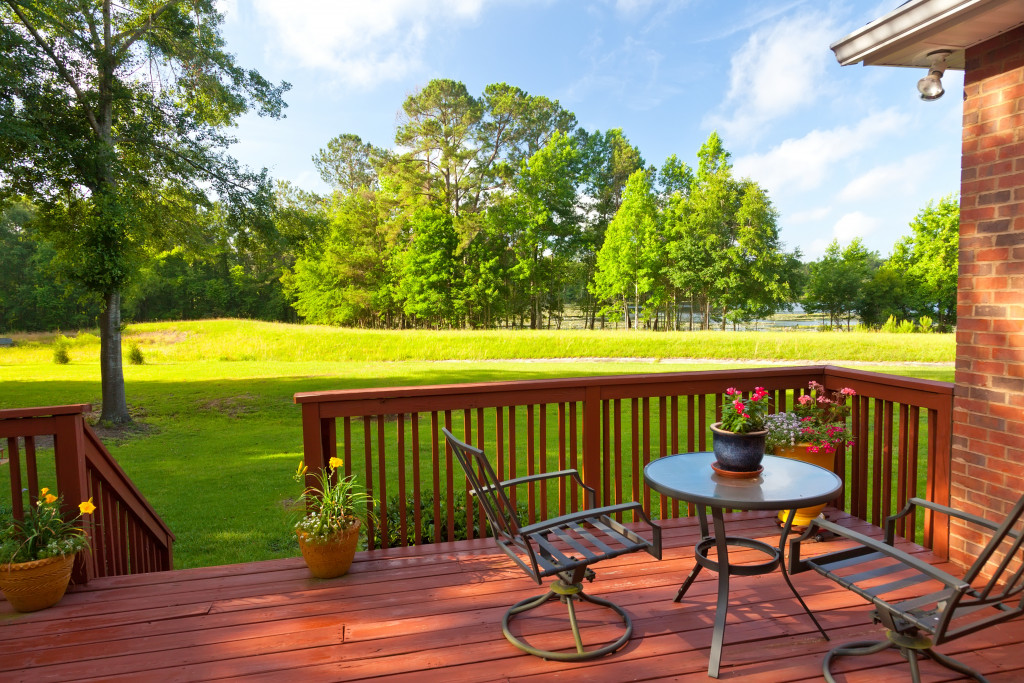
Step 6: Add Some Finishing Touches
Once you’ve installed all the decking material and secured the brackets, the last step would be to add some finishing touches. This would be the time to waterproof your deck and place outdoor furniture on top. You can also have motorized patio awnings installed so you’ll be able to relax on your deck without exposing your skin to the harsh sunlight.
If you’re not confident in your skills, you can always call on a family member or a friend to lend a helping hand. After all, DIY projects often become more meaningful when you make it with a loved one. But make sure that everyone involved in the project can stay safe for the duration of the construction because your safety always comes first.