Summer is the perfect time to take on some home improvement projects you’ve been putting off since last year. With the warmer weather and longer days, it’s the ideal time to get outside and tackle repairs and fixes around your house. Plus, there’s nothing quite like the satisfaction of completing a project yourself!
However, before you pull out your toolbox and start pounding nails, you should be able to gauge your skill level and whether you can fix whatever’s broken. If it’s something simple like a loose doorknob, go for it! But if it’s something more complicated like repairing faulty gas furnaces, you may want to leave the job to a professional.
There’s nothing wrong with tackling complicated projects if you’re confident in your abilities, but you also don’t want to end up making things worse. So, to help you out, here are three simple DIY fixes and repairs you can do around your house this summer:
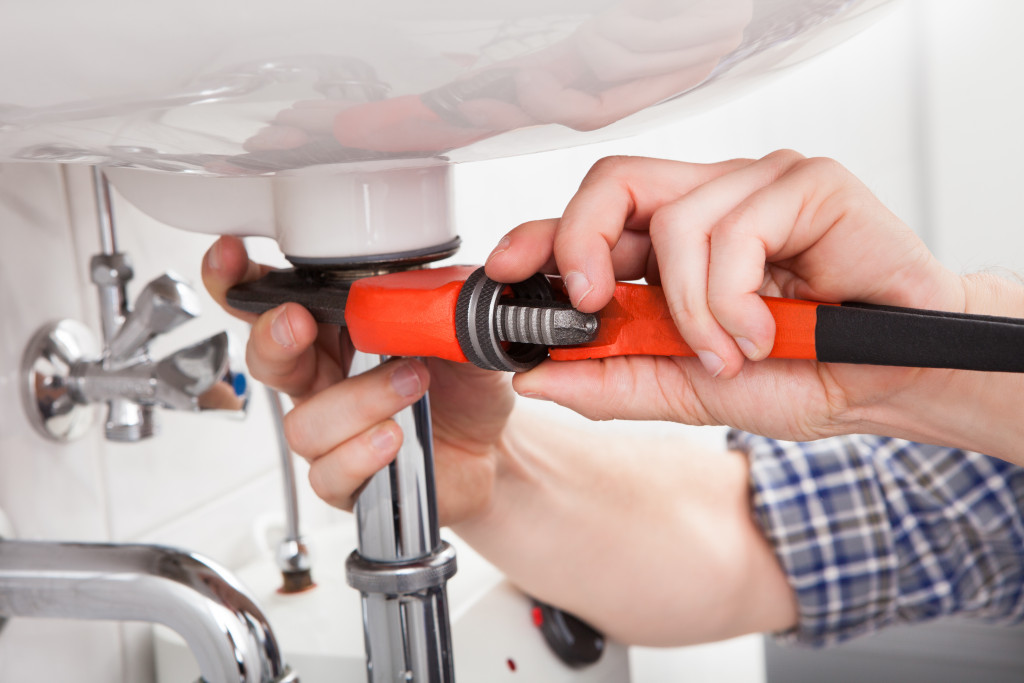
Project #1 Fix a Leaky Faucet
A minor leak can waste up to 3,000 gallons of water per year, so it’s essential to fix a dripping faucet as soon as you notice it. Luckily, this is a relatively easy repair you can do yourself in just a few minutes. If you’ve never fixed a leaky faucet before, here are some steps you can follow:
Step 1: Locate the Source of the Leak
The first step is to identify where the leak is coming from. Is it coming from the handle, the spout, or somewhere else? Once you know where the leak is coming from, you can move on to the next step.
Step 2: Tighten Loose Parts
If the leak is coming from the handle, chances are it’s because of a loose set screw. To fix this, tighten the set screw with a Phillips head screwdriver. If the leak comes from the spout, it could be because of a loose packing nut. To fix this, use an adjustable wrench to tighten the packing nut.
Step 3: Replace Worn Out Parts
If the leak occurs after you’ve tightened all the loose parts, you may need to replace some worn-out parts. For example, you may need to replace the O-ring or washer since these parts tend to wear out over time. You can find these replacement parts at your local hardware store.
Project #2 Repair a Window Screen
A ripped or torn window screen is not only unsightly, but it can also let bugs and other pests into your home. This is especially a problem because insects are more active in summer. Luckily, this is another repair that you can easily do yourself. Just follow these steps:
Step 1: Remove the Screen
The first step is to remove the screen from the window. To do this, take out the screws or nails that are holding the screen in place. If you can’t find the screws or nails, they may be hidden behind the spline (the cord holding the screen).
Step 2: Cut a New Screen
Once you’ve removed the old screen, you’ll need to cut a new one to fit the window. You can purchase a roll of screen material from your local hardware store. To cut the new screen, simply trace the old one onto the new one and cut it out with a utility knife.
Step 3: Attach the New Screen
Now it’s time to attach the new screen to the window. Start by attaching the top of the screen to the window frame. Then, stretch the bottom of the screen down and attach it to the frame. Finally, use the spline tool to secure the edges of the screen in place.

Project #3 Adjust a Sticking Door
If you have a door that sticks or doesn’t close properly, it’s probably because the hinges are out of alignment. This is an easy fix that you can do yourself in just a few minutes. All you need is a screwdriver and a hammer. Follow these steps:
Step 1: Remove the Door
The first step is to remove the door from the frame. To do this, remove the screws holding the hinges in place. Once the screws are removed, you should be able to lift the door out of the frame.
Step 2: Adjust the Hinges
Once the door is removed, you can start adjusting the hinges. If the door sticks at the top, loosen the top hinge and tap it down with a hammer. And if the door is sticking at the bottom, loosen the bottom hinge and tap it up with a hammer. But if the door sticks in the middle, you’ll need to adjust both hinges.
Step 3: Reattach the Door
Once you’ve adjusted the hinges, it’s time to reattach the door to the frame. Start by attaching the top hinge to the frame. Then, lower the door into place and attach the bottom hinge. Finally, replace the screws and tighten them with a screwdriver.
Repairing things around the house is a popular summer activity. It’s a great way to get your hands dirty and fix things yourself. Plus, it can save you money in the long run. So start with these three repairs and see how it goes! Who knows, you might enjoy it!